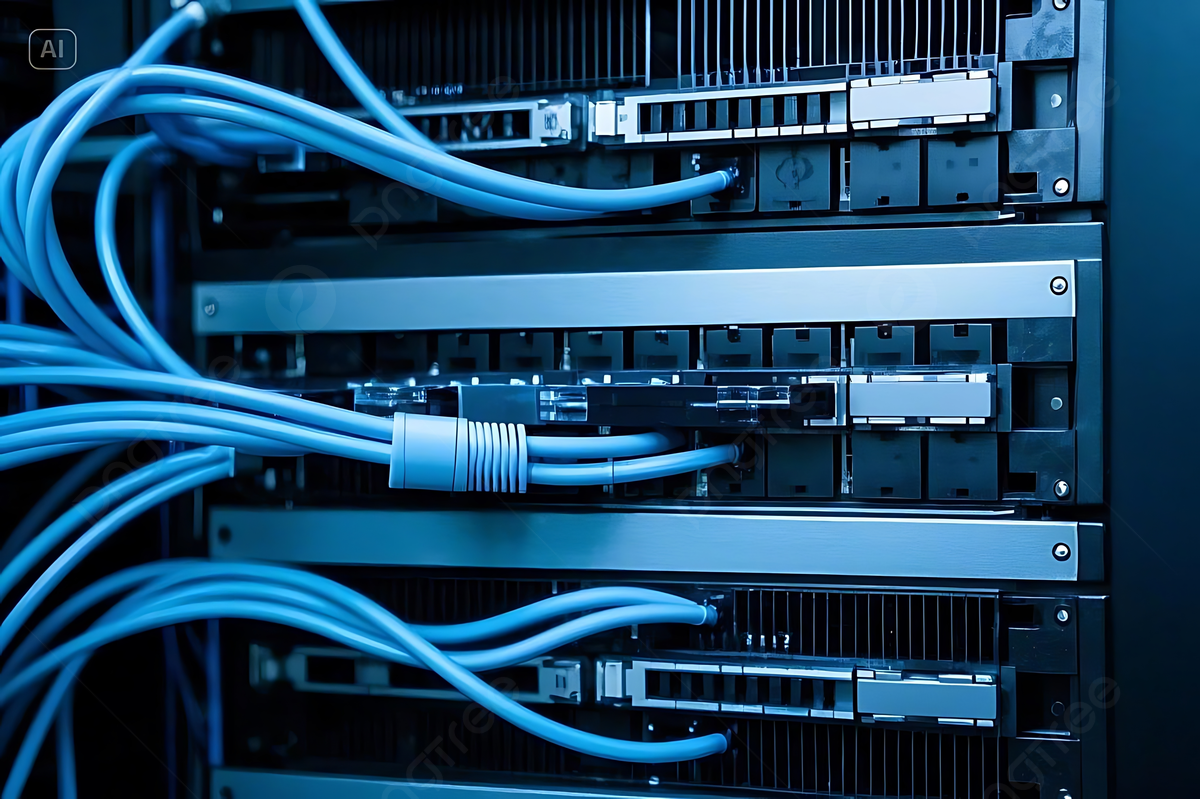

Cabling Design Services Built Around Your Workspace
Good design services start with how your people actually use the space. Before any cable is ordered, we walk the property, talk through your operations, and map where every device will sit. That first meeting shapes a design that respects your budget, your time frame, and the way your business runs day to day.
Most cabling work in Alondra Park happens during a change: a new lease, a remodel, a merger of two suites, or a move to a larger space nearby. These moments are the best opportunity to get the network right, because walls and ceilings are open and layout decisions are still flexible.
During tenant improvements, cabling should be coordinated with framing, electrical, HVAC, and ceiling installation so pathways stay clear and outlets land exactly where furniture and equipment will go. For relocations, we plan the new space in advance, install and test the cabling before move-in, and help you avoid the lost productivity of a first week without working connections.
Expansions bring their own challenges. Joining a neighboring suite often means extending the existing network or creating a second equipment location tied back to the main rack with fiber or copper backbone cabling. Planning that connection properly prevents bottlenecks and keeps the entire space running as one network.
Not every project needs a full build-out. Sometimes the right improvements are targeted: replacing a few failing runs, cleaning up a tangled rack, adding drops for new workstations, or running cable for additional access points to fix weak Wi-Fi coverage. A clear assessment tells you which option delivers the most value for the least disruption.
What a Well-Planned Network Layout Includes
- • A dedicated rack or telecommunications room with adequate power, ventilation, and working clearance.
- • Outlet locations matched to furniture plans, printers, displays, access points, and security devices.
- • Cable pathways that avoid electrical interference and stay accessible for future additions.
- • Spare ports and pathway capacity sized for the next three to five years of growth.
- • Consistent labeling from each wall plate to the matching patch-panel port.
- • A clear plan for coordinating with contractors, electricians, and your IT provider.
Choosing the Right Cable Type for Your Property
Cable selection has a lasting effect on how your network performs. The right choice depends on the devices you connect, the distances involved, the layout of the property, and how much bandwidth your business will need in the years ahead.
Cat6 is a dependable standard for most commercial workstations, phones, and printers. It supports Gigabit Ethernet across the full 100-meter (328-foot) channel and can carry 10 Gigabit Ethernet over shorter distances, roughly 37 to 55 meters depending on conditions. For many small offices and retail spaces, Cat6 offers an excellent balance of performance and cost.
Cat6A takes performance a step further. It supports 10 Gigabit Ethernet across the full 100-meter channel, offers better protection against crosstalk, and handles higher-power PoE devices such as advanced wireless access points and pan-tilt-zoom cameras with less heat buildup in cable bundles. Businesses planning dense Wi-Fi, heavier surveillance, or long service life often choose Cat6A for new installations.
Fiber optic cabling is the go-to option for backbone connections. It links equipment rooms, floors, and separate buildings, supports much longer distances than copper, and is immune to electromagnetic interference. Multimode fiber is typically used inside buildings, while single-mode fiber covers longer runs such as connections between structures. Most commercial networks use fiber for the backbone and copper to reach individual devices, giving you speed where traffic is heaviest and practical, PoE-ready connections everywhere else.
Cat6, Cat6A and Fiber Optic Cabling Compared
| Feature | Cat6 | Cat6A | Fiber Optic |
| Typical use | Workstations, phones, and printers | Dense Wi-Fi, cameras, and high-performance endpoints | Backbone links between rooms, floors, and buildings |
| 10 Gigabit support | Shorter runs only (about 37 to 55 meters) | Full 100-meter channel | Yes, over much longer distances |
| Maximum channel length | 100 meters (328 feet) | 100 meters (328 feet) | Far longer than copper, depending on fiber type |
| Power over Ethernet | Yes | Yes, with better heat handling in bundles | No |
| Interference resistance | Good with proper installation | Improved crosstalk performance | Immune to electromagnetic interference |
| Best fit | Cost-effective standard for most small offices | New builds planning for long service life | Uplinks and high-traffic connections |
How We Install, Test and Deliver Your Cabling Project
A cabling project is only as good as the way it is carried out. Our process keeps work organized, your space protected, and your team informed from the first day on site to the final walkthrough.
Installation begins once the design, schedule, and access details are confirmed. Our technicians route cable along planned pathways, support it properly, keep separation from electrical sources, and terminate each run at the outlet and patch panel. Racks are dressed with horizontal and vertical cable managers so patch cords stay organized and equipment remains easy to reach. For occupied spaces, we protect floors and furniture, contain dust, and clean up at the end of each work period.
Testing is not optional. Every copper link is certified with a professional cable tester against the applicable TIA performance standard for its category, measuring wire map, length, insertion loss, crosstalk, and return loss. Fiber is tested for optical loss, and connectors are inspected and cleaned so high-speed uplinks perform as intended. Any link that fails is corrected and retested before closeout.
Delivery means more than leaving the job site. You receive certification reports, a port schedule that matches the labels on every wall plate and patch panel, and cable maps or marked-up floor plans that show where everything runs. We finish with a walkthrough of the installation so your staff or IT provider knows exactly what was built and where spare capacity is available.
Project Delivery Checklist
- Confirm the final design, outlet counts, cable types, and equipment locations.
- Set the schedule around business hours, building access, parking, and occupied areas.
- Install cable along planned pathways with proper support and separation from electrical sources.
- Terminate, label, and organize every run at the outlet and patch panel.
- Certify all copper links and test all fiber links, correcting any failures.
- Provide test reports, port schedules, and cable maps at closeout.
- Walk through the finished installation with your team or IT provider.